Splashtop Secure Workspace supports secure RDP access to Windows 365 Cloud PCs using manually input credentials. This document outlines the steps required to configure and enable this access.
Prerequisites
- A Windows 365 Cloud PC instance provisioned and accessible
- An active SSW environment
- A user account with permissions to create and manage private applications in SSW
🛠 Step-by-Step Setup
1. Install the SSW Connector on the Cloud PC
- Log in to the Windows 365 Cloud PC.
- Deploy the SSW Connector.
- Ensure the connector is running and online in the SSW Portal.
2. Configure a Private Application for RDP Access
- In the SSW Portal, navigate to Applications.
- Click Add Application -> Add Private Application and configure the following:
- Name: e.g.,
Cloud PC - John - Protocol:
RDP - Host: Local IP or hostname of the Cloud PC
- Port:
3389 - Relay type:
Connector - Connector: Select the one installed on the Cloud PC
- Name: e.g.,
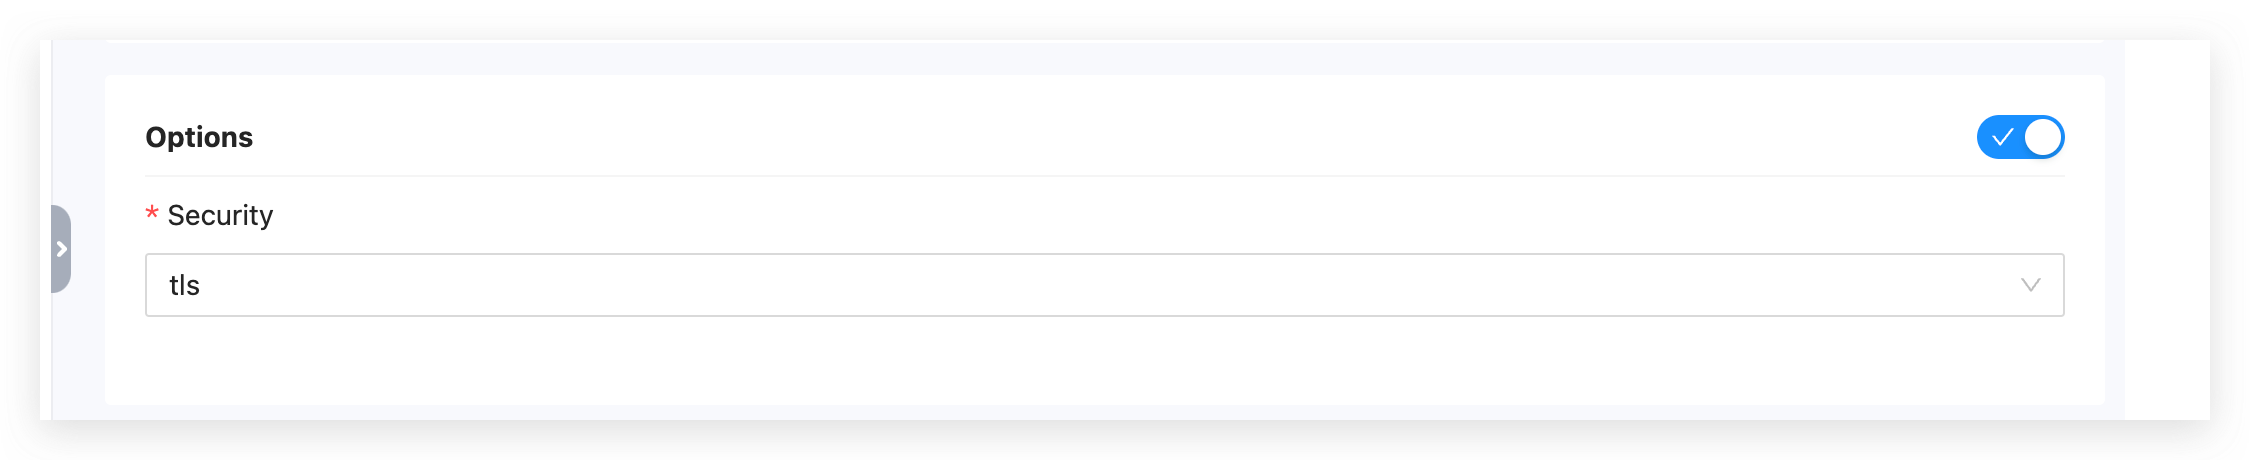
- Enable the following:
- Enable Options
- Security: Set to
TLS
3. Adjust Windows Settings on the Cloud PC
-
Open Settings → System → Remote Desktop.
-
Click Advanced Settings.
-
Turn off the option:
Require devices to use Network Level Authentication to connect.

This setting is necessary for SSW's secure tunnel to establish a compatible RDP session.
4. Notes on Dynamic Credentials
For Dynamic Credentials usage, ensure the username is entered in the correct format:
${domain}\${username}
This format is required for SSW to successfully inject credentials during the RDP session.
To find the correct ${domain}\${username} value:
-
Log in to the target Windows machine.
-
Go to:
Settings → System → Remote Desktop → Remote Desktop Users
-
Check the listed user accounts and their domain association.