This guide explains how to connect to a web service that is only accessible within a private network using SSW. It uses Device42 as an example and enables SAML SSO login through a public SAML application.
Scenario Overview
- Internal Service: Device42 web application
- Internal IP:
ip-172-31-28-185.us-west-1.compute.internal - Access Method: Through SSW Private App
- Authentication Method: SAML SSO
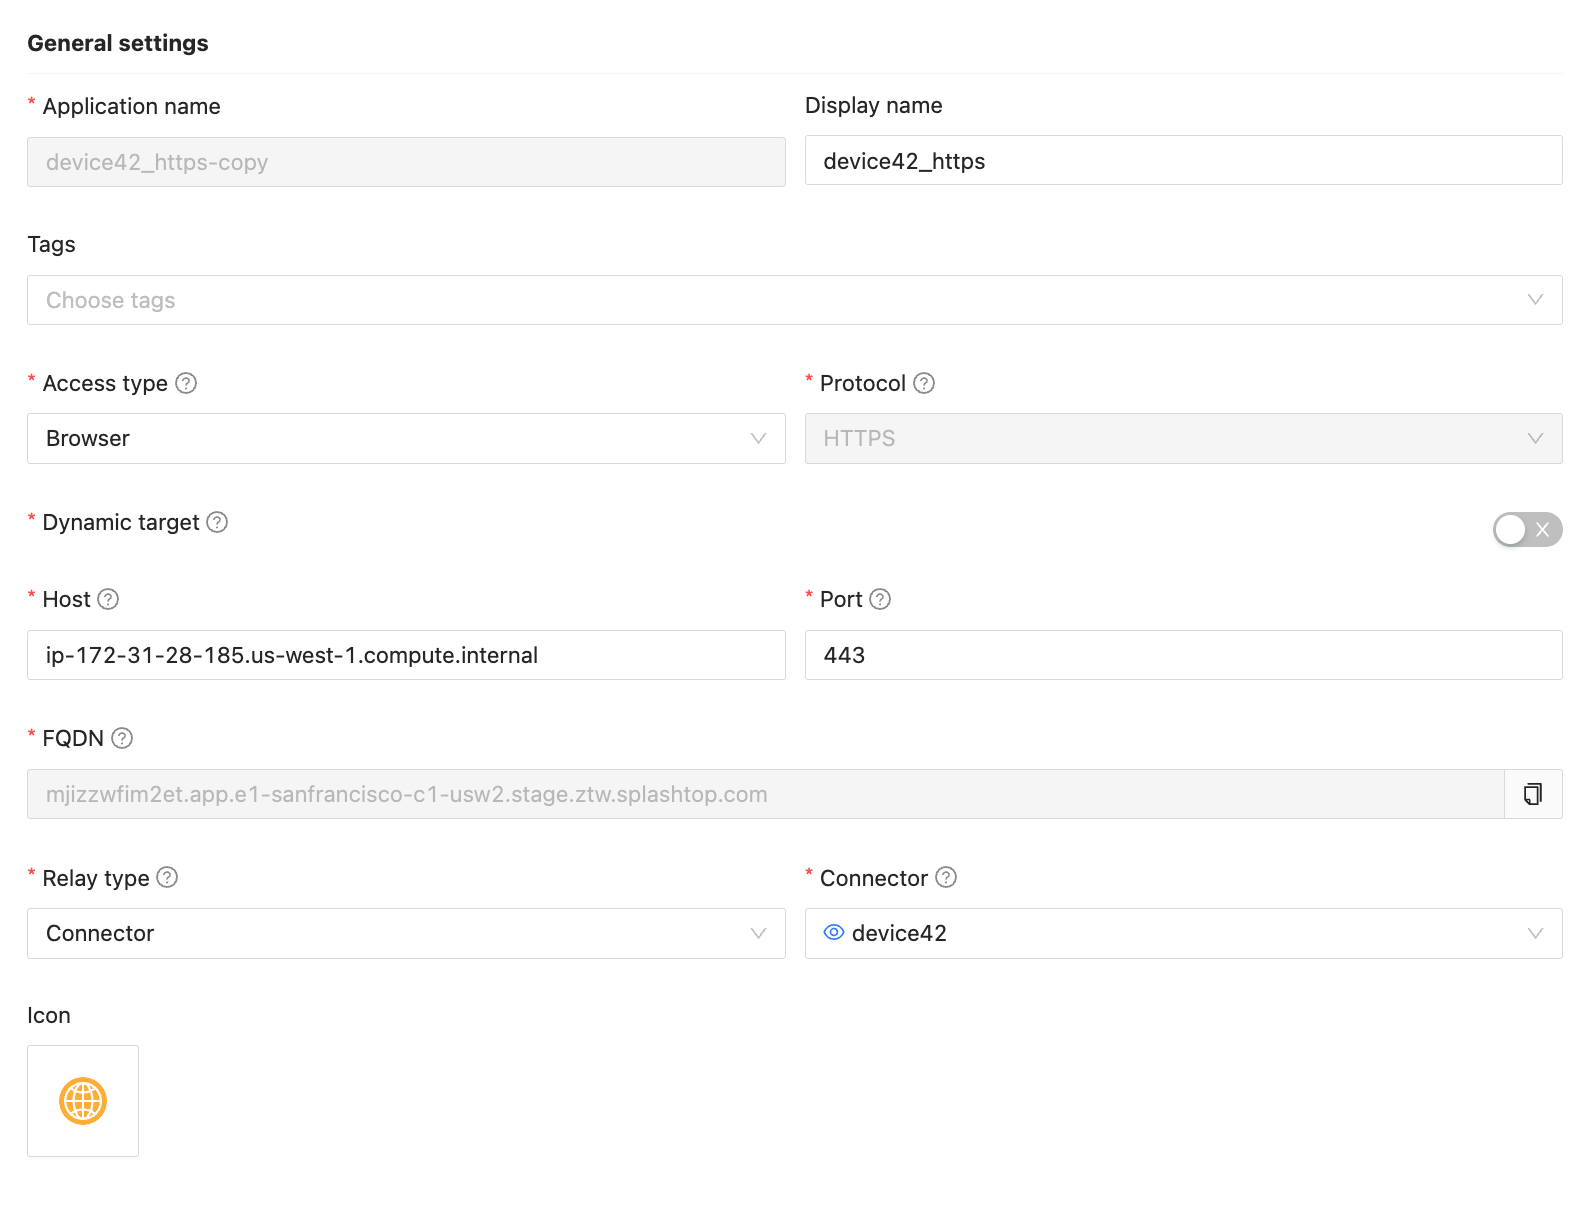
Step 1: Create a Private App in SSW
- Go to the SSW Admin Console.
- Create a Private App:
- App Type: HTTPS
- Connector: Choose one that has access to
ip-172-31-28-185.us-west-1.compute.internal - FQDN: ⚠️ Make sure to record the FQDN you use here (e.g.,
mjizzwfim2et.app.e1-sanfrancisco-c1-usw2.stage.ztw.splashtop.com) . You'll need it for the SAML configuration. - Fill in the rest of the details as needed.
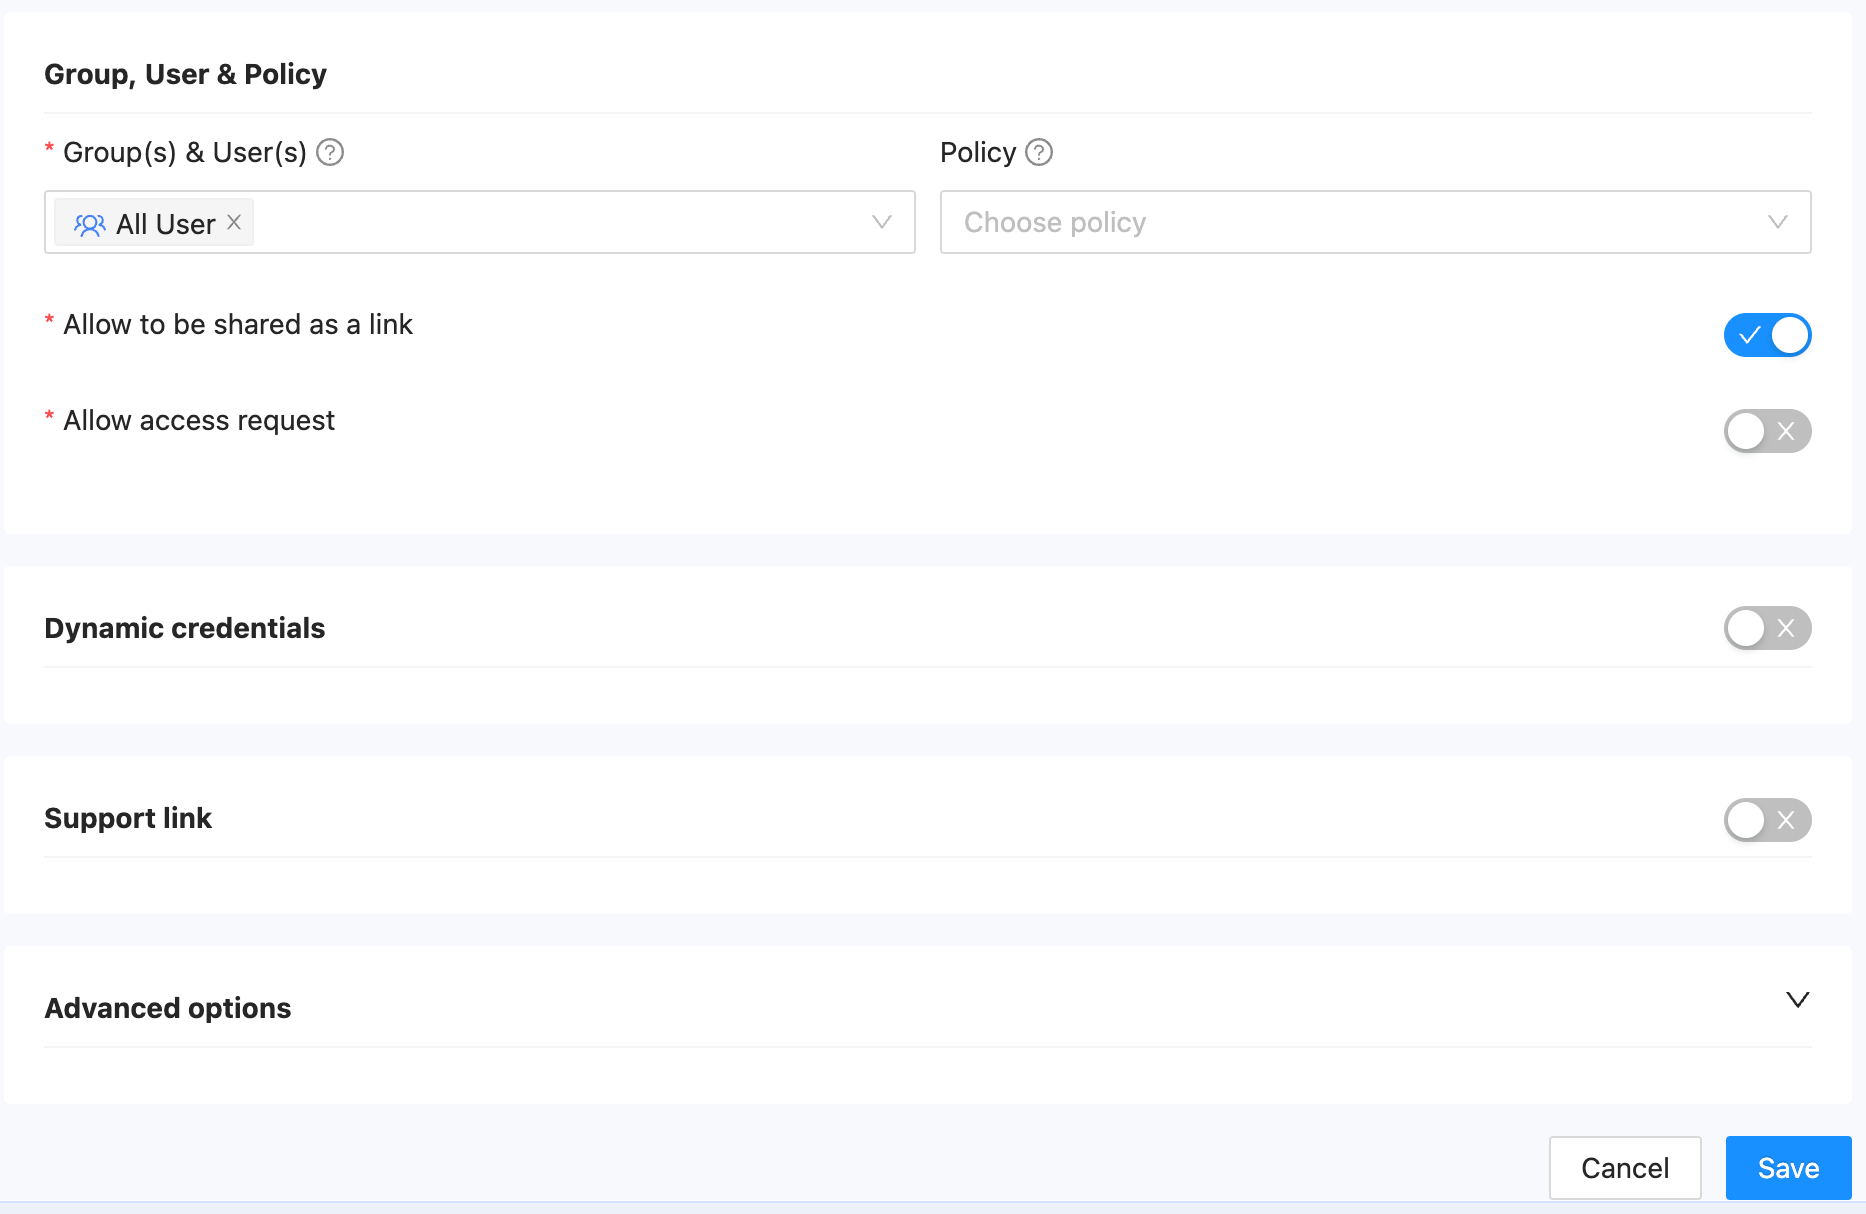
Step 2: Create a Public SAML App in SSW
- Create a Public App:
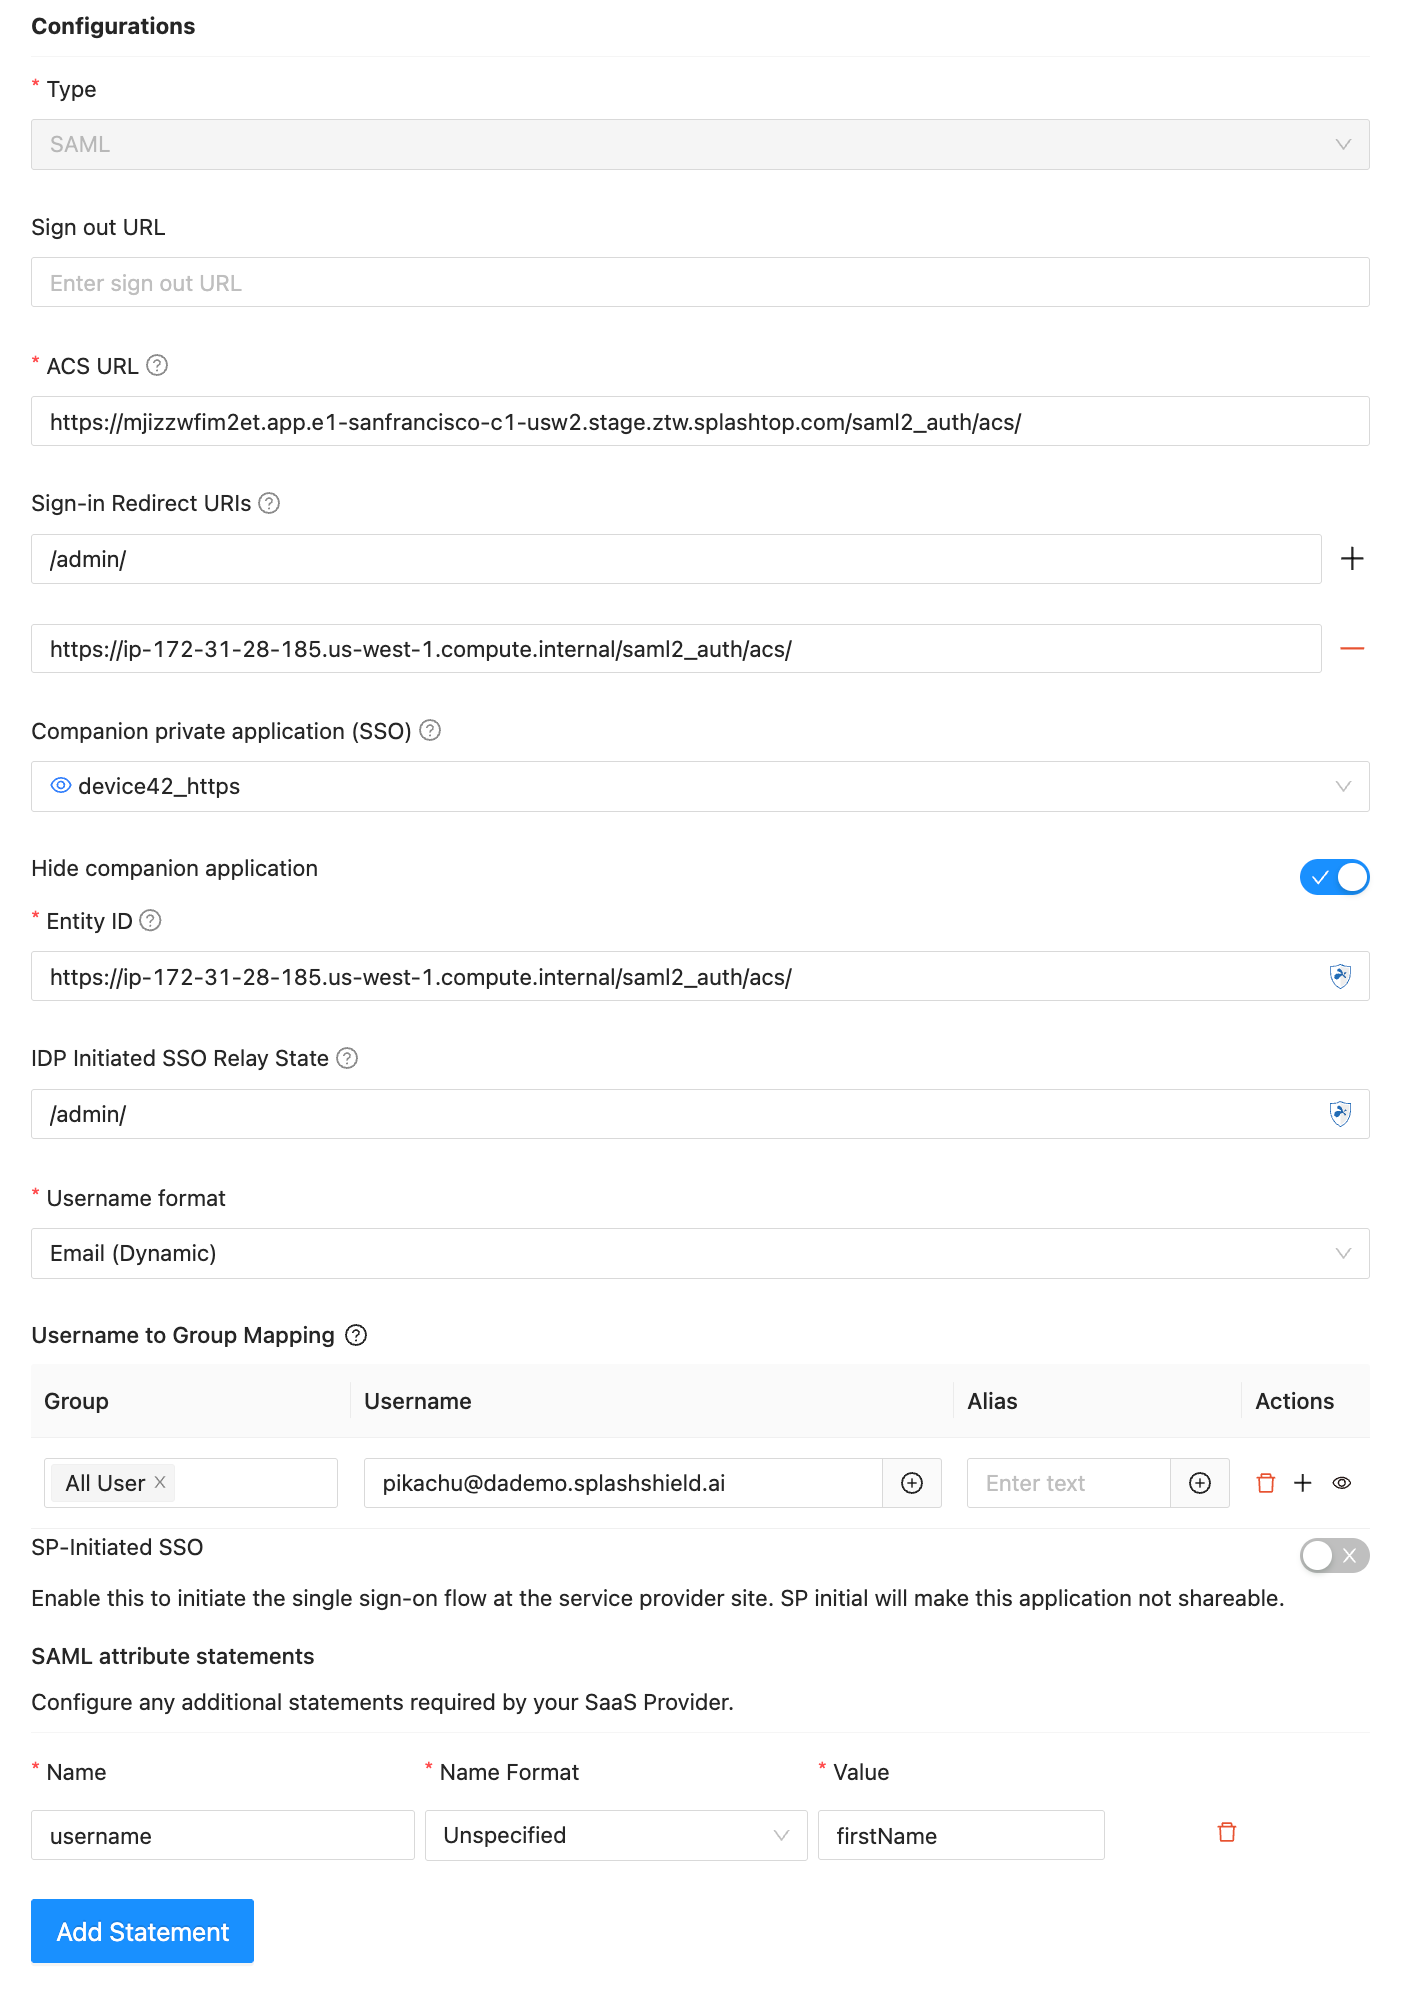
- ACS URL:
https://<Private App's FQDN>/saml2_auth/acs/
Replace<Private App's FQDN>with the hostname obtained from the previous step (your IDP configuration). - Sign-in Redirect URIs: The URI you want users to land on after a successful login (e.g., a dashboard or homepage).
- EntityID:
https://<Device42 URL>/saml2_auth/acs/
Use the original Device42 URL here without replacing the hostname. - Companion Private App: Select the Private App you created in Step 1.
- ACS URL:
- SAML Attributes:
- Add one attribute:
- Key:
username(This can be customized based on your Device42 config) - Value:
firstName(Please ensure this field in the user profile in SSW matches the username in Device42)
- Key:
- Add one attribute:
- Save the app.
- Copy the Metadata URL from the right-hand panel. You'll need this in Device42.
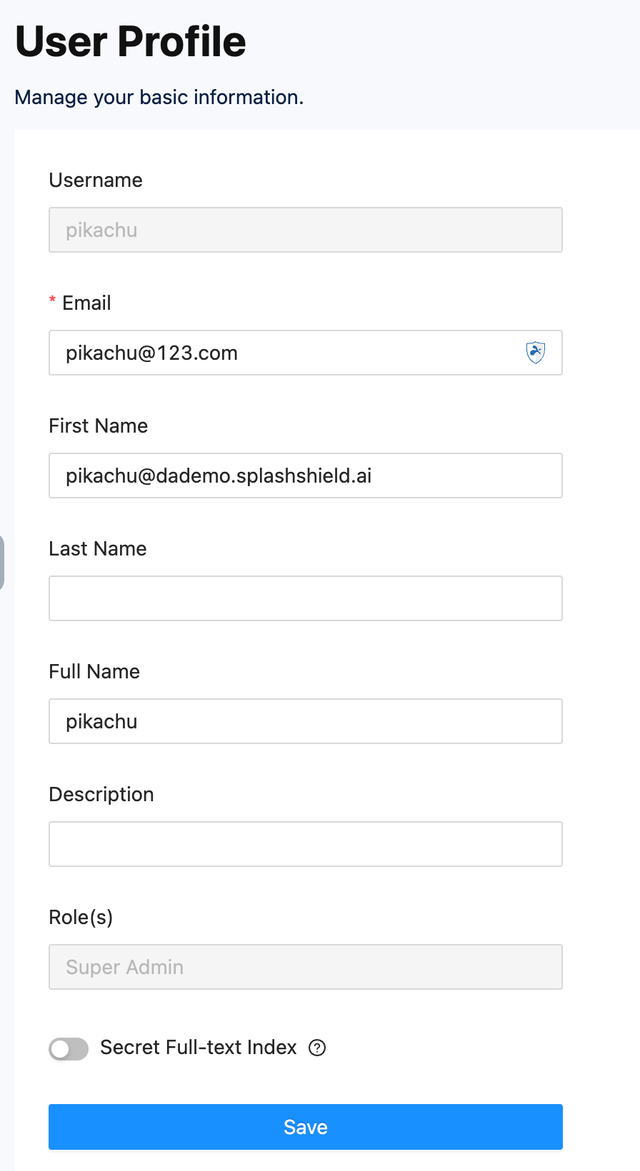
Step 3: Set User Profile Fields
Since Device42 does not support Just-in-Time (JIT) user provisioning, the user must already exist in Device42.
If you mapped the SAML attribute username to firstName, make sure the First Name field in the user profile on SSW matches the Device42 username exactly.
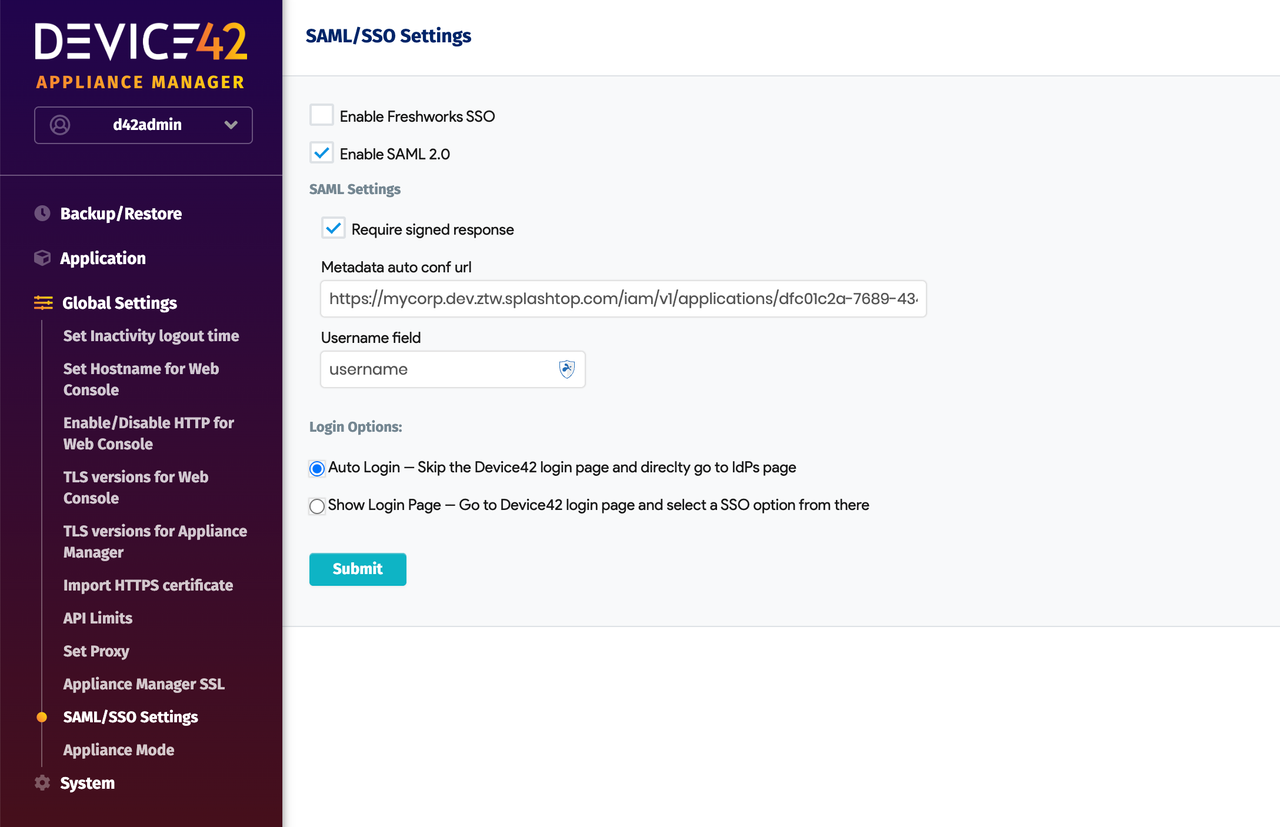
Step 4: Configure SAML in Device42
-
Go to Device42’s SAML settings page.
-
Metadata URL:
- Paste the Metadata URL from the SAML app created in Step 2.
-
Username Field:
- Set this to
username(this must match the key used in SSW SAML Attributes).
- Set this to
-
Login Options:
- Select Auto Login.
-
Require Signed Response (optional):
- If you enable this, ensure that Sign SAML Response is also enabled in the second tab of your SAML app in SSW.
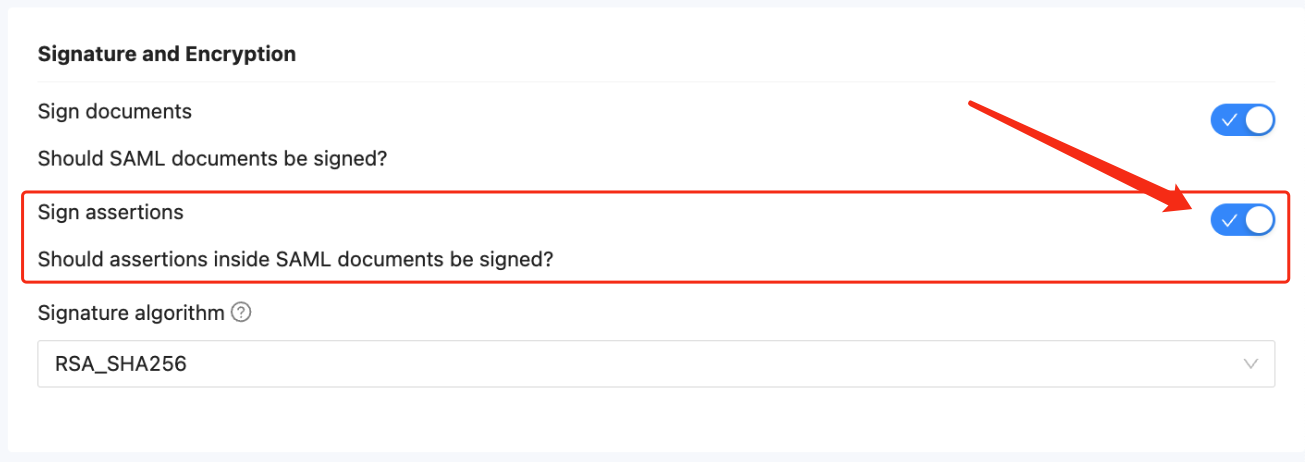
- If you enable this, ensure that Sign SAML Response is also enabled in the second tab of your SAML app in SSW.
-
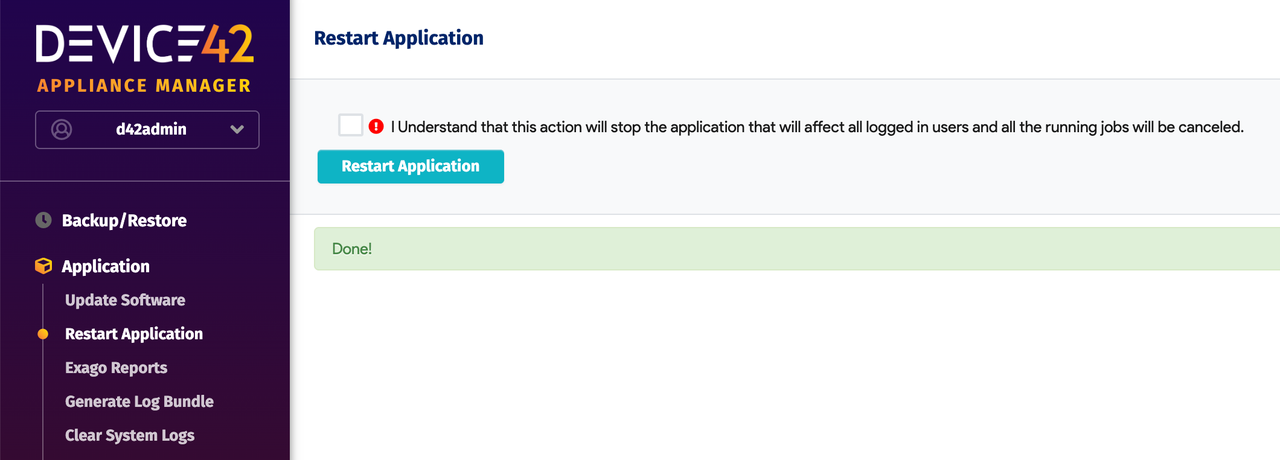
Save and Restart:
- Navigate to
Application → Restart Application - Click Restart Application to apply the new configuration.
- Navigate to
Result
Users can now access the internal Device42 service through the FQDN configured in the Private App, with SAML SSO authentication managed by SSW.
Optional Enhancement
Consider enhancing your SAML app integration logic to auto-update the ACS URL based on the bound Private App's FQDN.
Let us know if you'd like a diagram to accompany this guide.