User configuration profiles in Splashtop Secure Workspace allow you to define settings and restrictions for specific user groups. Follow the steps below to create a user configuration profile.
Step 1: Accessing User Configuration Profiles
- Log in to your Splashtop Secure Workspace admin account using your credentials.
- Navigate to the Devices tab.
Step 2: Creating a New User Configuration Profile
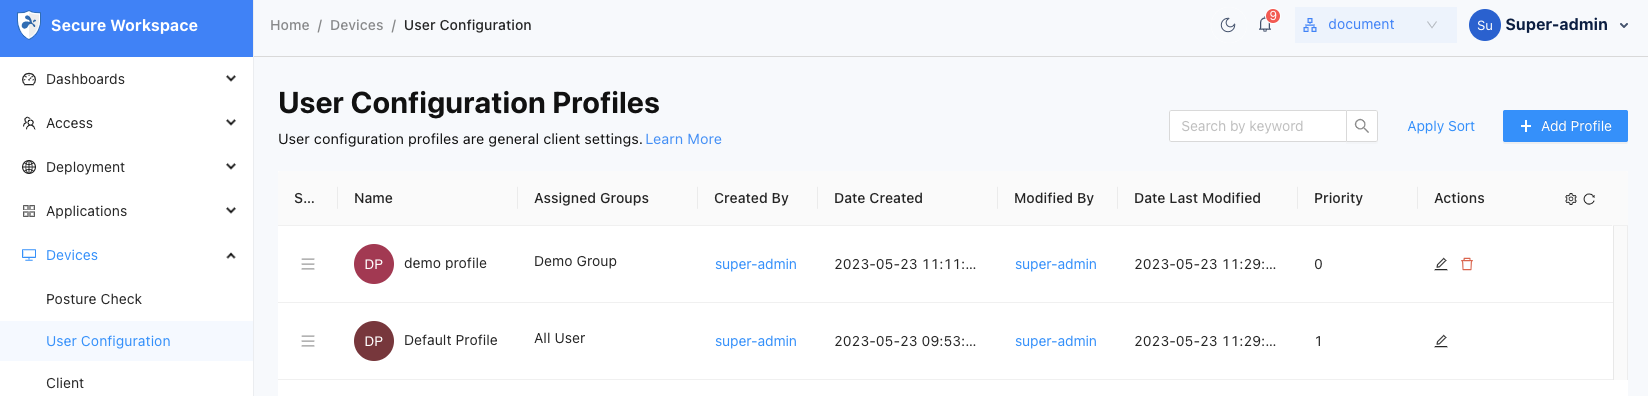
- On the Devices tab, click on the User Configuration section.
- Select the Profiles tab.
- Click on the Add Profile button to create a new profile.
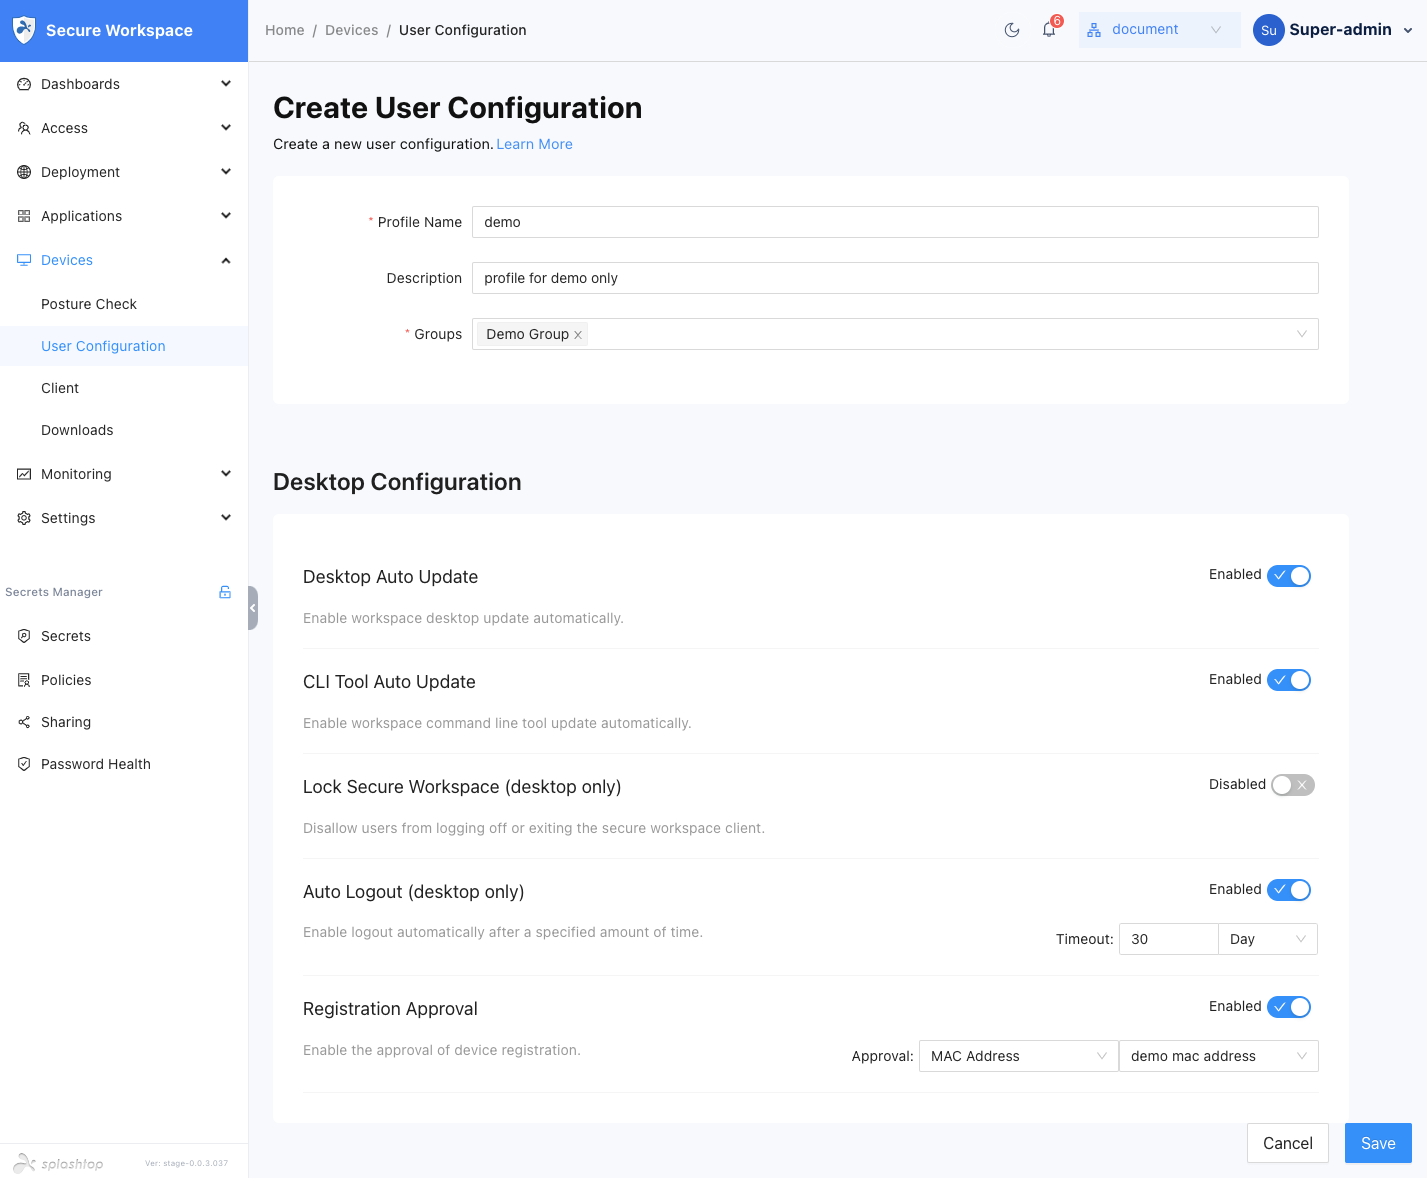
Step 3: Configuring Profile Settings
- Provide a descriptive Profile Name for the new user configuration profile.
- Enter an optional Description to provide additional details or instructions.
- Select the Groups to which this profile will be applied. This determines the users or devices associated with the selected group that will be subject to the configuration settings defined in the profile.
- Configure the desired settings and restrictions based on your organization's requirements. This may include options such as:
- Desktop Configuration:
- Desktop Auto Update: Enable workspace desktop update automatically. Enabled by default.
- CLI Tool Auto Update: Enable workspace command line tool update automatically. Enabled by default.
- Lock Secure Workspace (desktop only): Disallow users from logging off or exiting the secure workspace client. Disabled by default.
- Auto Logout (desktop only): Enable logout automatically after a specified amount of time. Enabled by default, with a timeout set to 30 days.
- Registration Approval:
- Manual Approval: Enable manual approval for device registration. The admin will manually review and approve each device registration request.
- MAC Address: Approve device registration based on MAC address. Predefine a list of MAC addresses that are allowed for registration.
- Desktop Configuration:
Step 4: Saving and Applying the Profile
- Review the configured settings to ensure they meet your requirements.
- Click on the Save button to save the user configuration profile.
- The saved profile will be listed under the User Configuration Profiles tab.
- To edit the priority of the profiles, click on the Table Sort button.
- Drag and drop the profiles to rearrange their priority. The profile with the lowest priority value will be applied first.
- Click on the Apply Sort button to save the changes to the priority order.