Adding public applications in Splashtop Secure Workspace allows you to incorporate and provide access to commonly used applications for your organization's users.
Step 1: Accessing Applications Configuration
- Log in to your Splashtop Secure Workspace super admin account or org admin account using your credentials.
- Once logged in, navigate to the Applications menu.
- Select the Applications section to access the applications configuration page.
Step 2: Adding Public Applications
- On the applications configuration page, click on the Add Applications(s) button.
- From the options presented, choose Add Public Application.
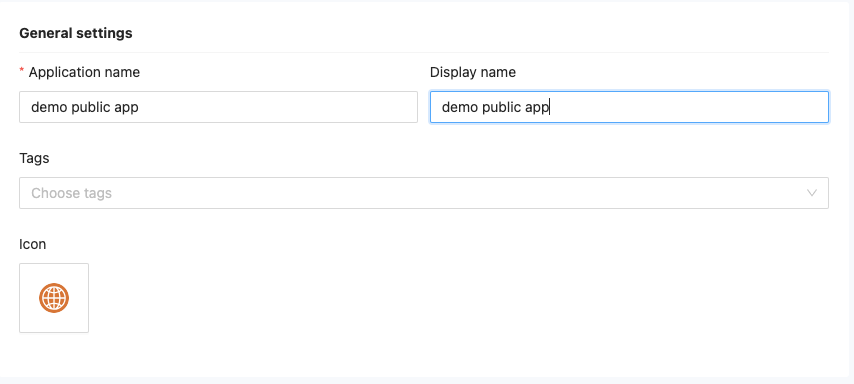
Step 3: General Settings
- In the General Settings section, provide the necessary information for the public application:
- Application Name: Enter a descriptive name for the application.
- Display Name: Specify the name that will be displayed to users within the system.
- Tags: Attach existing tags or create a new tag to categorize and manage the application.
- To attach an existing tag, select it from the dropdown list.
- To create a new tag, enter the tag name and click the "Save" button.
- Icon: Choose an icon for the application. You can select from the system's built-in icons or use the Favicon of the AcsURL.
Step 4: Sign-on Options
- Select the sign-on method for the public application: SAML or OIDC.
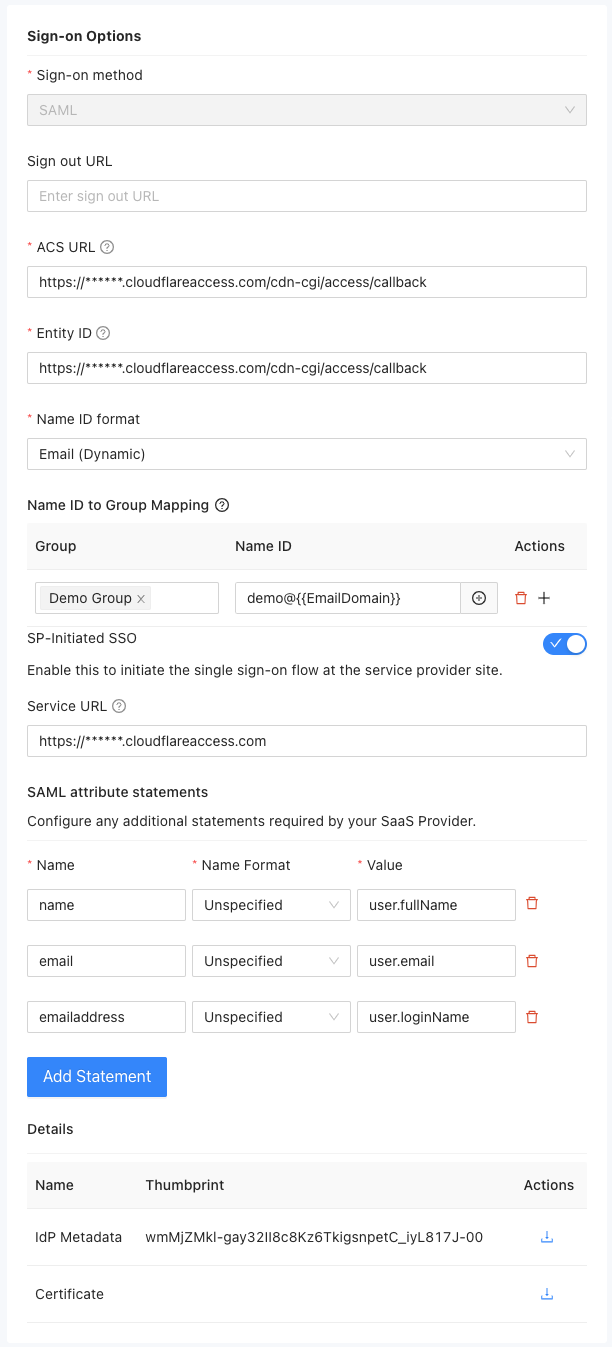
- If SAML is chosen as the sign-on method, provide the following details:
- Sign Out URL (optional): Specify the URL where users will be redirected after signing out.
- ACS URL: Enter the service provider's endpoint (URL) responsible for receiving and parsing a SAML assertion.
- Entity ID: Provide a globally unique name for the Identity or Service Provider.
- Name ID Format: Choose the desired format for the Name ID. Options include Username, Email (Dynamic), Email, Transient, and Persistent.
- Name ID to Group Mapping: Only available when the Name ID Format is Email (Dynamic). Name ID to Group Mapping allows the system to assign specific Name ID to users based on the groups they belong to. This feature enables administrators to define and configure mappings between groups and corresponding Name IDs. In cases where a user is a member of multiple groups, the system provides the option to choose which rendered Name ID to use.
- SP-Initiated SSO (optional): Enable this option to set up a Service URL used to redirect users to the service provider (SP) site for initiating the SAML authentication request.
- SAML Attribute Statements: Add additional statements required by the SaaS Provider by clicking the "Add Statement" button.
- Details: In this section, you will find the following information related to the SAML sign-on options:
- Thumbprint of the IdP Metadata: This is the fingerprint or hash value of the Identity Provider's metadata. It is used for verification purposes.
- Download IdP Metadata: Click on this option to download the metadata document for the Identity Provider.
- Download Certificate: Use this option to download the certificate associated with the IdP.
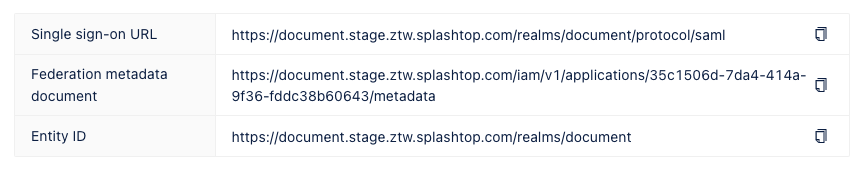
- On the right part of the page, following information will be displayed for reference:
- Single sign-on URL: The URL to initiate the single sign-on process for this application.
- Federation metadata document: The metadata document containing information about the federation configuration.
- Entity ID: A globally unique identifier for the Identity or Service Provider.
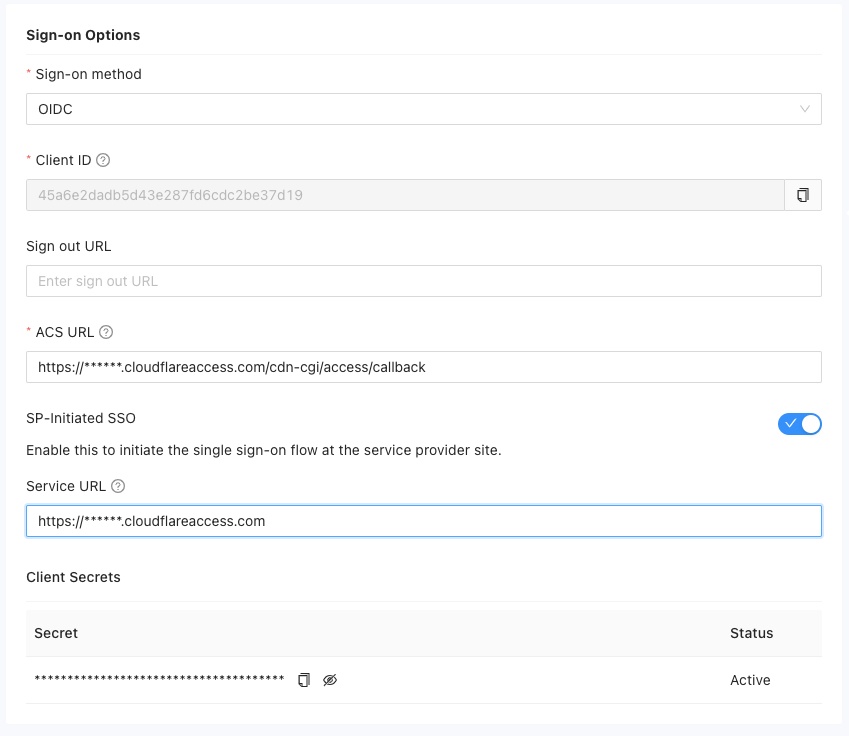
- If OIDC is chosen as the sign-on method, provide the following details:
-
Client ID: A unique identifier generated for the application. Copy this ID for use in the configuration.
-
Sign Out URL (optional): Specify the URL where users will be redirected after signing out.
-
ACS URL: The URL to which the user is redirected after authenticating with the IDP.
-
SP-Initiated SSO (optional): Enable this option to set up a Service URL used to redirect users to the service provider (SP) site for initiating the SAML authentication request.
-
Client Secrets: A generated secret key for the application. You can view and copy this key for use in the configuration.
-
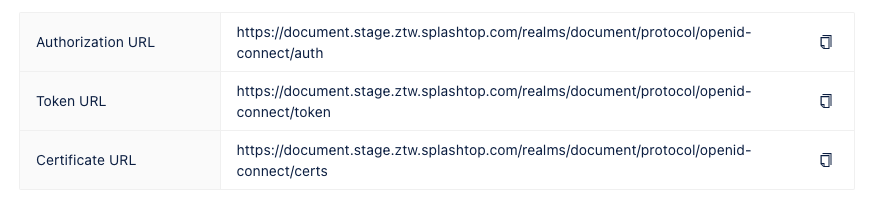
On the right part of the page, the following information will be displayed for reference:
- Authorization URL: The URL used for authorization during the authentication process.
- Token URL: The URL used for token retrieval during the authentication process.
- Certificate URL: The URL to access the certificate used for authentication.
-
Step 5: Group & Policy
-
Define the groups and policies associated with the public application:
- Group: Select the user groups that should have access to the application.
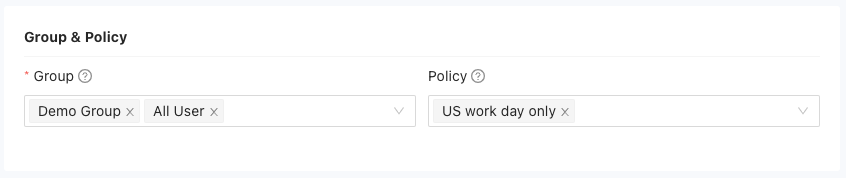
- Policy: Set specific application policies for the application, such as permissions, restrictions. You can follow the steps here to add application policy:
Add application policy
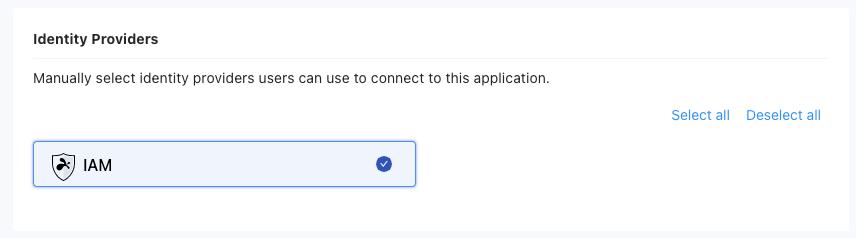
Step 6: Identity Providers
- Configure the identity providers for the public application:
- Select the identity providers (IDPs) that should be associated with the application.
- Select the identity providers (IDPs) that should be associated with the application.
Note: By default, the IAM (Identity and Access Management) service in Splashtop Secure Workspace is available as an identity provider. To add external IDPs, follow the steps here:
Step 7: Saving and manage the application
- Once you have defined the public application settings, click on the Save button to create the application.
- The application will be created and added to the list of applications.
- By default, the application will be in an active state. Locate the newly created application in the list and deactivate it by clicking on the corresponding Enabled button.