Creating a Secrets Share Link allows you to securely share a secret with others. Follow the steps below to create a Secrets Share Link:
Step 1: Accessing the Secrets Manager
- Log in to your Splashtop Secure Workspace admin account with your credentials.
- Navigate to the Secrets Manager section.
Step 2: Accessing Secrets
- Within the Secrets Manager section, click on the Secrets tab.
- Choose the folder that contains the secret you'd like to share.
Step 3: Creating the Share Link
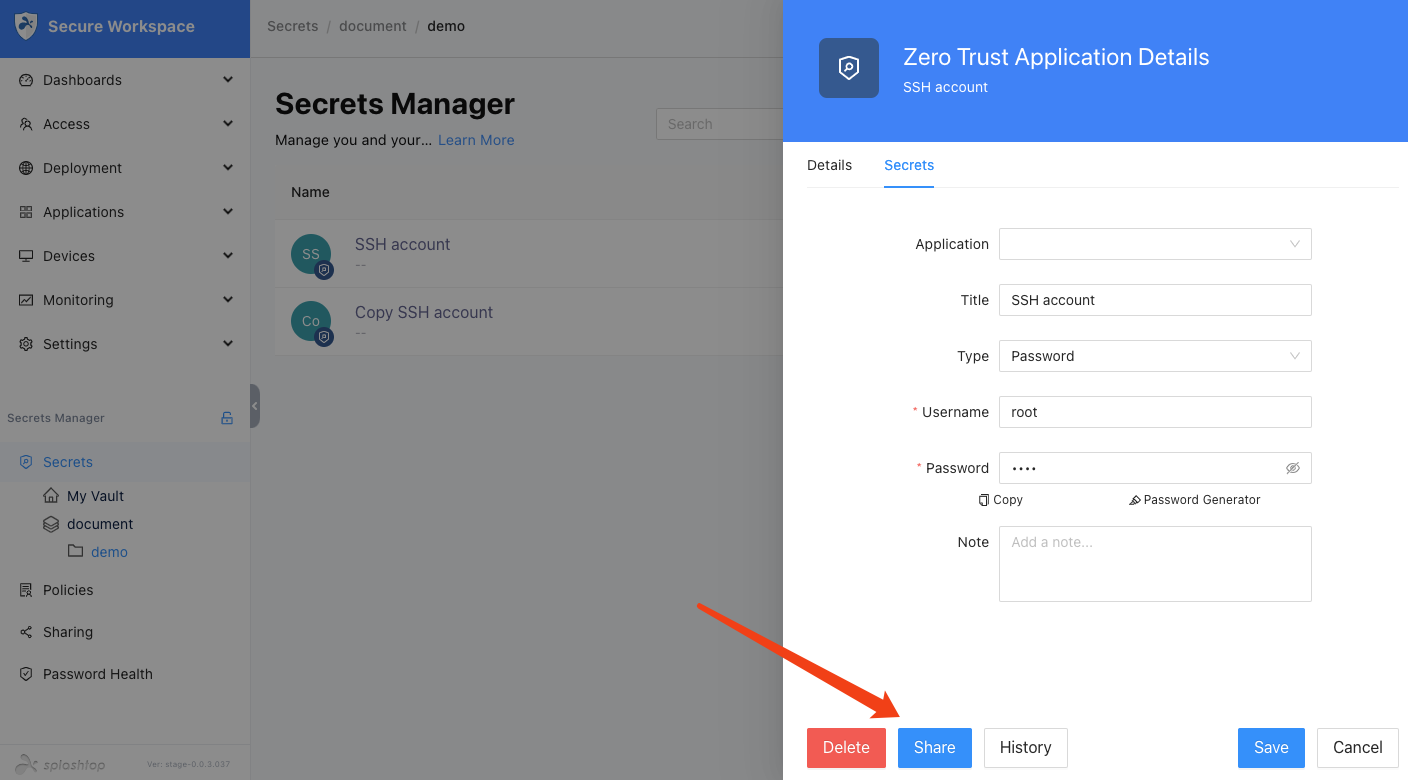
- In the Actions column of the secret you want to share, click on the Share button. Alternatively, you can click on the secret to open its details and then click on the Share button.
Step 4: Configure Share Link Settings
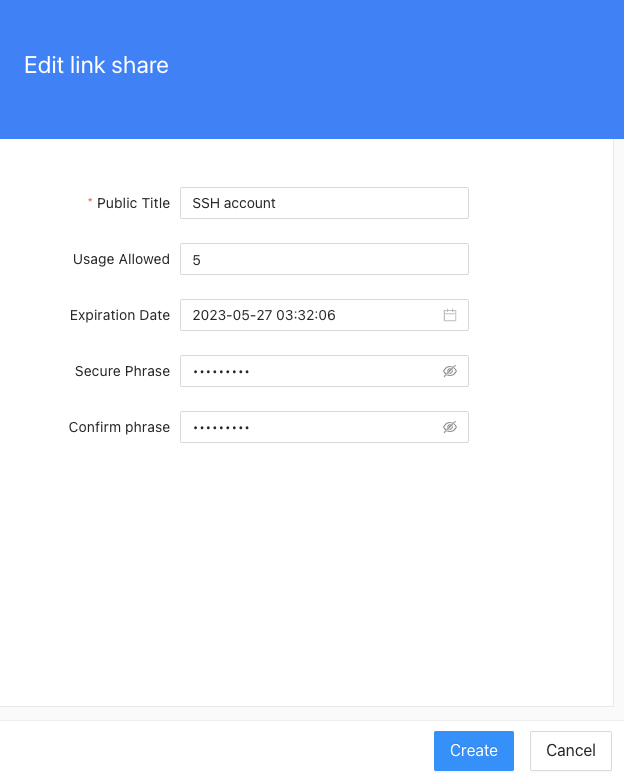
- Provide a Public Title for the share link. By default, it is set to the name of the secret.
- Specify the Usage Allowed for the share link. The default value is 1, but you can remove it to set it as unlimited.
- Set the Expiration Date for the share link. By default, it is set to expire one day later, but you can remove it to set it as never expire.
- Optionally, set a Secure Phrase. Others will need this phrase to access the shared secret.
- Confirm the secure phrase by entering it again.
Step 5: Copy the Share Link
-
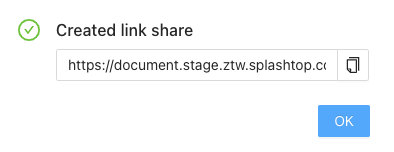
In the popup window that appears, the generated Share Link will be displayed. Copy the link by clicking the copy button.
-
Click on the OK button to close the popup window. Note that this is the only chance to copy the share link.
Step 6: Manage Share Links
- To check the status of the created Share Links, navigate to the Sharing tab in the Secrets Manager section.
- In this tab, you can view the list of Share Links, including details such as the Secret, Public Title, Expiration Date, Usage Allowed, and the option to Delete a share link if needed.
Note: The recipients of the share link will need to use the provided link and, if applicable, the secure phrase to access the shared secret. Make sure to share the link and any necessary access credentials securely.